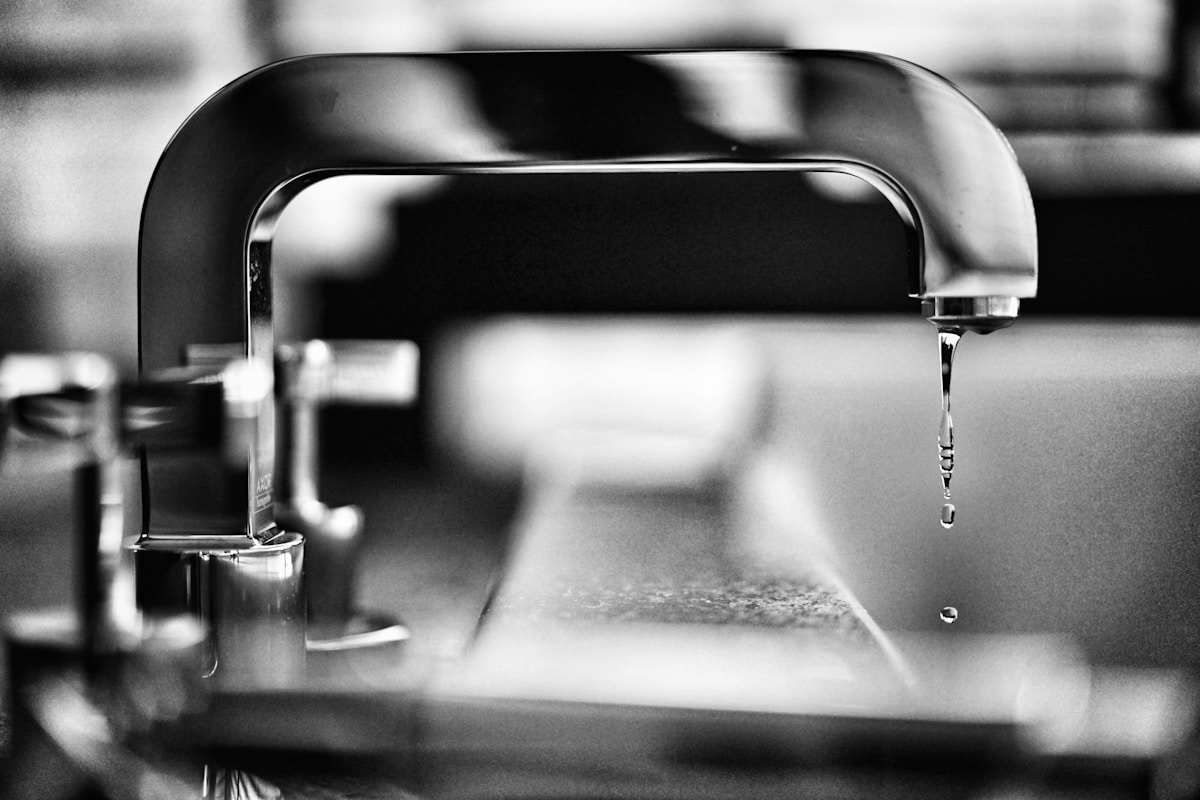
Leaks are annoying, pesky, and can cause all sorts of problems. Water that drips onto the floor of a bathroom, kitchen, or basement can damage to the flooring and cost an arm and a leg to repair. Leaks also waste water and increase your water usage, which can in turn, make your water bill go up. Water sitting on sink cabinets can attract mold or cause the cabinets to rot and decay. Sink or drain leaks are very common and usually easy to troubleshoot. Other times they are not and require a professional to come and assist.

The first sign of leakage is visible water or wetness. You may see a small pool of water or you may see dried and discolored water spots in your cabinets. If you suspect you have leaking problems, remove any items being stored under the sink and place some colored construction paper under there. If you don’t have any construction paper, you can use any paper you have handy. Come back to check on it after a few hours. If the paper is wet or damp, then you have a leak.
Another technique would be to fill up the basin with water, then let it empty. As it drains, look under the sink and check if there are any droplets of water coming out. If the leak is minimal or not visibly dripping, you may need to use a Kleenex to pat around the pipes, to help detect where the leakage is coming from. If the tissue is moist or damp, you have a leak.
Next, check the tubing and other drain properties for fractures or misuse. Examine all of the parts. If the tubing is leaking, you may need add more sealant or pipe dope. Another option is plumber’s tape or plumber’s putty, which you can find at your local hardware store. Before applying, make sure that the surrounding area is completely dry and free of water. After the application, make sure that you allow it a minimum of two hours to dry. This will take care of any small cracks, but may not a permanent fix.
The slip joint nut, rubber gasket, or tailpiece may be cracked and need to be tightened or replaced. If you are checking the connections and find they need screwing, do not overtighten the parts or the washer will not work properly. If the pipe is cracked, replace it. Often times, the sink articles are overused and have to updated. New washers may also need to be added or installed. If this is the case, disconnect the parts and attach the new ones. Some leaks may require you to remove all the parts.
After you have made the necessary changes to repair the leak, repeat the steps above to make sure the leak is fixed, and be sure to keep an eye on it, in the event that the leak returns.
Please note that if you aren’t sure of where the leak is coming from, or how to fix it, it is best to contact a professional plumber. Disconnecting or tightening parts may make the issue worse. Other problems you may run into is not knowing how to put the drain parts back together. Removing the pieces may be an easy task, but making sure the parts are placed back in their correct spots can be difficult or confusing. It is also possible that you replace the wrong part and the leak does not get fixed. Understandably, this can be extremely frustrating. Sometimes, leaks are not visible.
These are just a few of the many issues that could be causing your sink to leak. If you are still uncertain of where the leak is coming from, call your local plumber, like Fresno Plumbing and Sewer Service. We will gladly come out to you, locate the issue, and give you a free quote. This will also give you the chance to have our plumbing experts take a look at your entire system, making sure it is working effectively and efficiently for you.
If you happen to reside in the county of Fresno, we’d love to serve you for all your plumbing demands. We can be reached at (559) 470-5755
The first sign of leakage is visible water or wetness. You may see a small pool of water or you may see dried and discolored water spots in your cabinets. If you suspect you have leaking problems, remove any items being stored under the sink and place some colored construction paper under there. If you don’t have any construction paper, you can use any paper you have handy. Come back to check on it after a few hours. If the paper is wet or damp, then you have a leak.
Another technique would be to fill up the basin with water, then let it empty. As it drains, look under the sink and check if there are any droplets of water coming out. If the leak is minimal or not visibly dripping, you may need to use a Kleenex to pat around the pipes, to help detect where the leakage is coming from. If the tissue is moist or damp, you have a leak.
Next, check the tubing and other drain properties for fractures or misuse. Examine all of the parts. If the tubing is leaking, you may need add more sealant or pipe dope. Another option is plumber’s tape or plumber’s putty, which you can find at your local hardware store. Before applying, make sure that the surrounding area is completely dry and free of water. After the application, make sure that you allow it a minimum of two hours to dry. This will take care of any small cracks, but may not a permanent fix.